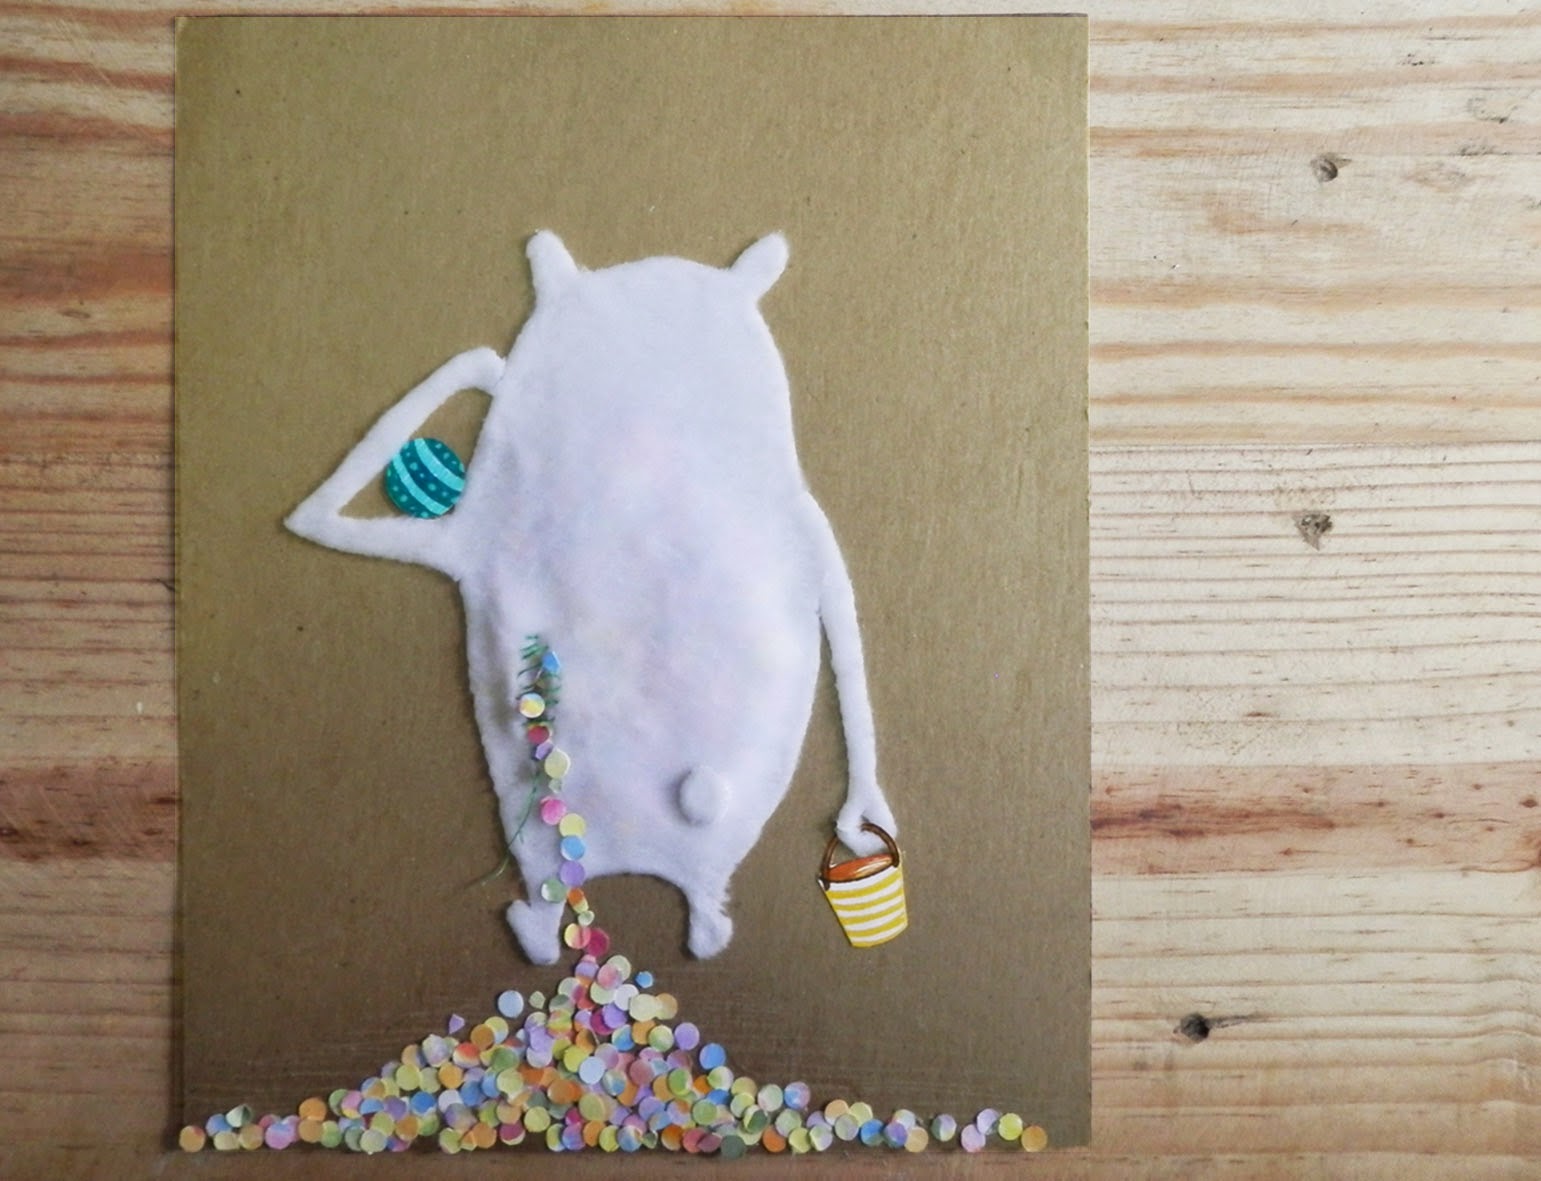
This is the collage piece I
did for Week 25 – Dots.
For the sake of this tutorial, and to document each step, I have replicated the artwork (you will notice that the colours are slightly different).
For the sake of this tutorial, and to document each step, I have replicated the artwork (you will notice that the colours are slightly different).
After I had my final sketch I identified all of the elements on it, since I was doing a collage it was better
to recognize all the parts I needed beforehand. I decided not to work on the
background until the end. Firstly, I copied the character from my final sketch onto new paper in order to make a cutting guide of the two parts needed for
making the character in fabric.
Then I cut a piece of fabric according
to the patterns.
Having the parts of
the character cut I proceeded to copy the ball and the bucket from the sketch in
a white sheet of paper and applied color with some markers. After coloring them
I cut them with a blade or stencil knife.
Then, for the stuffing
I did my own confetti.
For this part it is
important to place your piece of paper on a board and tape its sides well in
order to avoid it moving or distorting. Also, it is best to use paper with a high percentage
of cotton for these types of watery techniques.
For the next step I
applied the watercolour with only a small amount of water because I wanted solid colours. Before you continue further you must wait for the paper to dry.
Then I used two methods
for cutting the paper. First I used a whole punch (like the one you see below) for the
biggest circles, and for the small ones I folded the paper and start to cut
with scissors in a circular shape (the folding was for being faster).
Then for putting it all
together, I sewed the two parts of my character by the sides. Then I cut a
line on one side of it for making the hole, which would be the place where all
the confetti will come out and then I stuffed it with the confetti. Then with a
contrasting color sewed it loosely.
Then I pasted the character onto the brown paper background, and added more confetti. I went for that paper
because the character was going to play at the beach, so I needed sand.
After pasting I added
the other elements (the ball and the bucket) and took a picture of it finished.
(If you do collage and you like how the multiple layers stand out from each
other is better to take a picture to register your piece rather than scan it as most of the time you lose the lights and shadows you achieved when scanning.
Lastly in Photoshop I
applied some yellow light to the background in order to give it a sunny
feeling. Then it is complete.
Ana Karen San Emeterio


So gorgeous! Just love seeing your processes, Ana--so creative.
ReplyDelete