

The following are steps taken to begin the monoprints. I painted over the designs with acrylic at the end.

Cut an A4 paper frame to mask the mono print edges. Put aside for later.

Place a whole A4 sheet of paper under a plastic sheet.

Spoon out small amounts of water soluble printing ink, like Hydrosheen, on a flat surface like perspex or glass.

Use a soft roller to spread the ink until you achieve the colour you desire.

Roll your chosen colour onto the plastic.

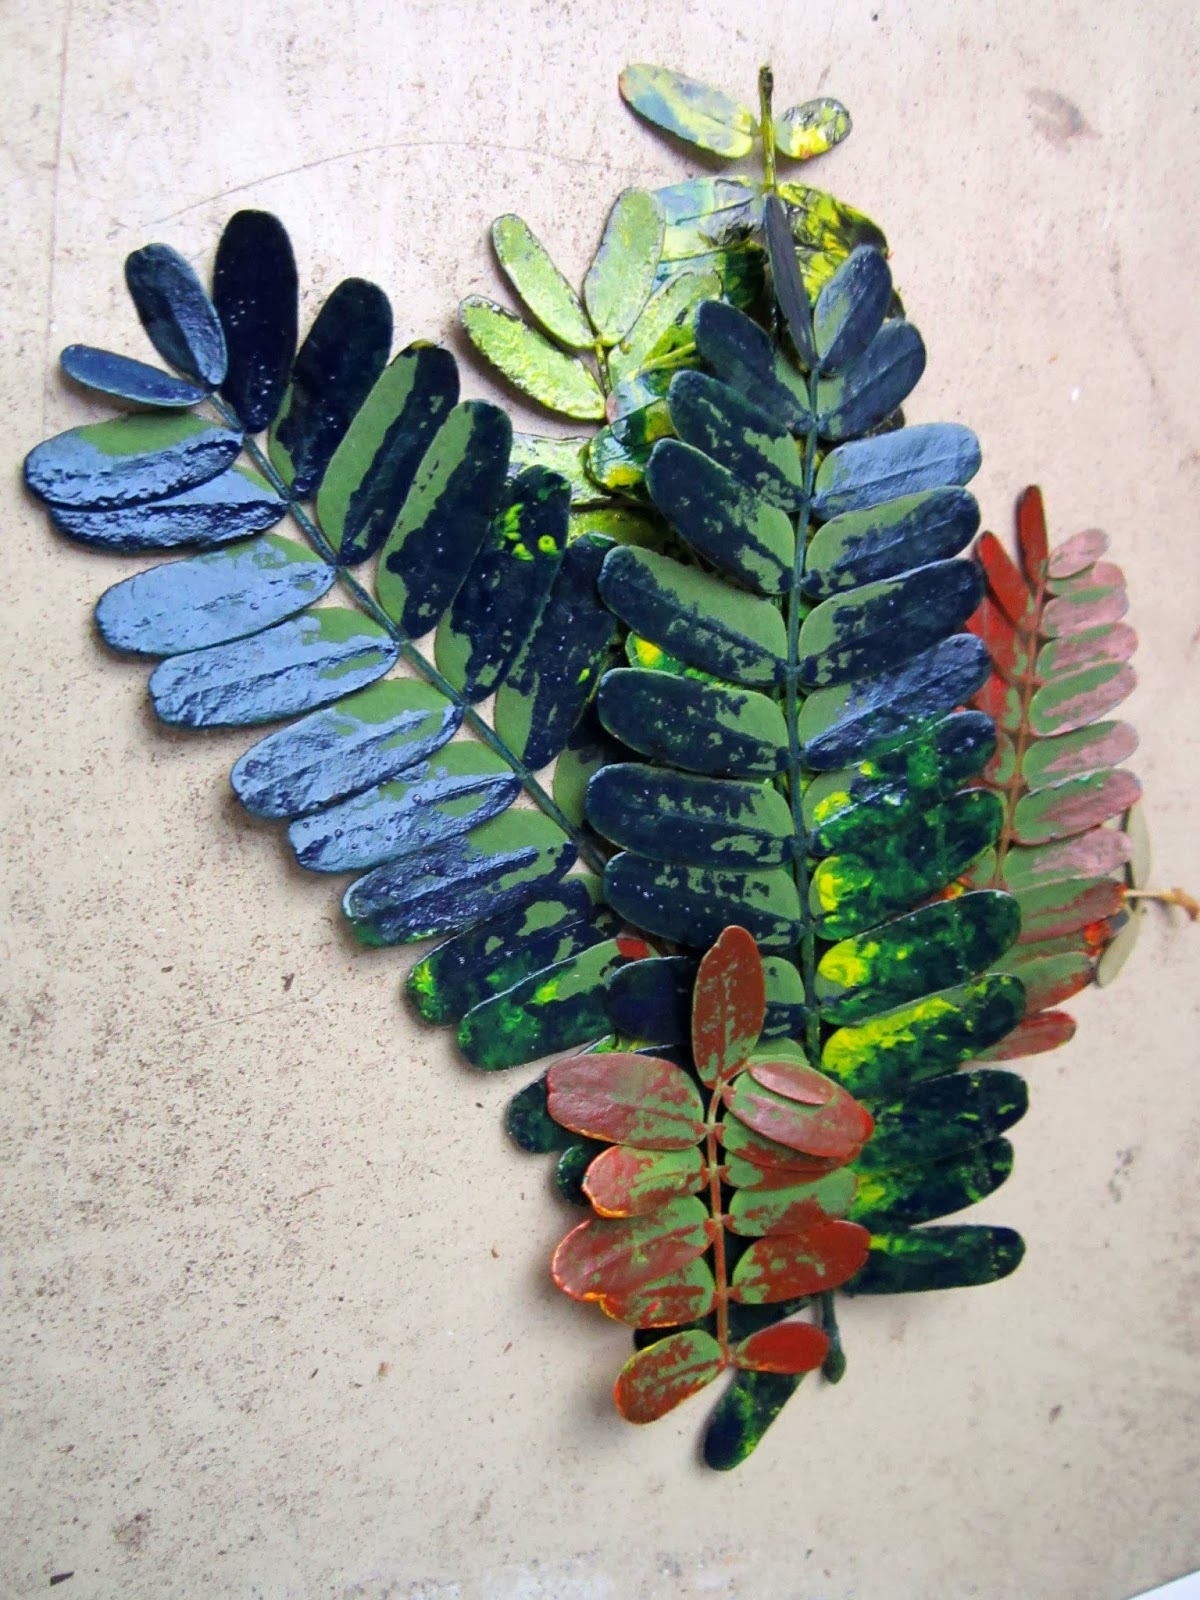
Then roll different colours onto some leaves.

Position the leaves into the inked surface and place the cut paper frame over the
paper edges.

After inking all the leaves, position them on the background.

Drape a dry A4 piece of cartridge paper over the inked surface and leaves. Make sure your paper registers with your template.

Place the felt over the top and run through a tight press (tighter than you would have for a lino print). Only pass the print though the press once, to prevent movement.

Remove felt and carefully lift paper with clean hands (dirty ink fingers will ruin your print edge).
Remove leaves.

Clean surface with damp cloth before drying with a soft towel. Now your monoprint can be enhanced using acrylic paints. Have fun!
Other images made from this technique:


Thank you for sharing, Michelle. This is an interesting process that I have never seen before. I like the end results and it looks like fun :)
ReplyDeleteThanks for sharing, Michelle. Good fun!!!
ReplyDeletelovely, if only I could access the press at the local TAFE
ReplyDelete