I'm excited to share a fun way to recycle those old or rejected pieces of artwork you probably have sitting in a folder somewhere; an idea that enables you to create a brand new work from two otherwise-unusable pieces. The result conveys both structure and spontaneity, and always seems to lend an element of surprise.
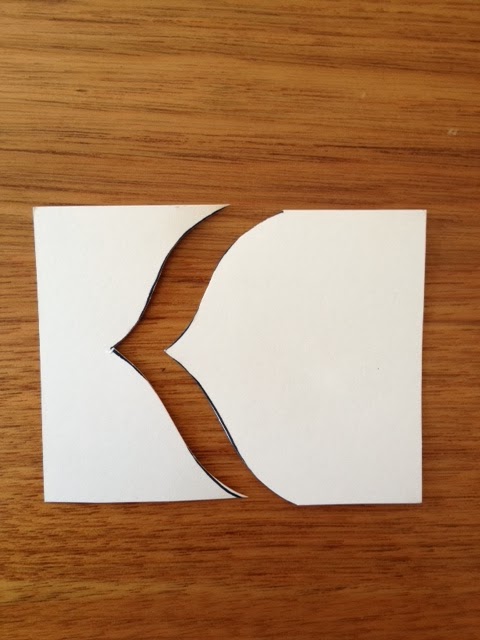
You probably did paper weaving in infants' school. Essentially, you are creating a basket-weave pattern from two sheets of paper. The paper weaving you did as a child probably had straight pieces interleaving straight sections, resulting in a regimented checkerboard pattern. Over, under, over, under, over, under. But the patterns can be as varied as your imagination.
My sincere thanks to my teachers' college art/craft lecturer, the late Klin Sullivan, who introduced me to the improved technique described here. It readily became one of my annual art activities when teaching primary school students.
Select two pieces of unwanted art of similar size, but highly-contrasting colours, paper media or theme. You can also use one piece of your own art and a blank piece of card, or junk mail, or old wrapping paper. Trim to the same dimensions and then draw a margin (thickness appropriate to the paper size) on the reverse of each sheet. These margins permit you to cut all the way to the other end of the paper, meaning it is much easier to interweave the strips and correct errors.
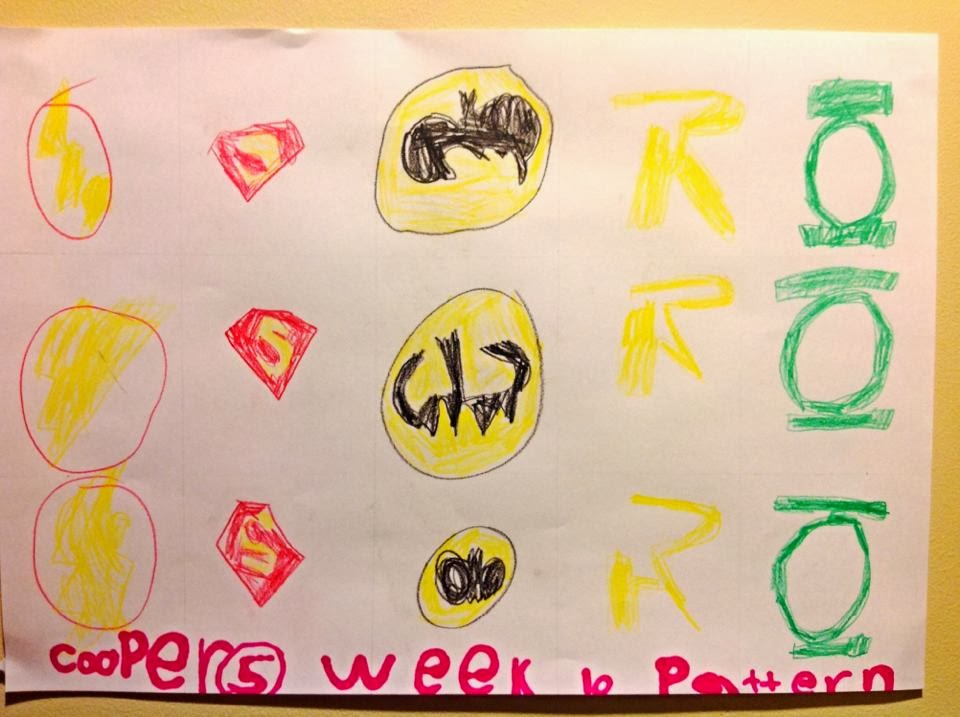
My paper weaving for Week 10's theme, PATTERN, was created in 2014, but using two old and damaged/unfinished oil pastel artworks from 1981, which I recently found in my garage.
Cut straight, curved or jagged lines towards the margin of one piece. Cut straight, curved or jagged sections from the second piece, stopping when you are about the thickness of the first sheet's sections away from the margin on the back. If the cut strips' correct order is hard to establish, cut one strip at a time and affix each one before cutting the next one.
Slide the strips into place. The final strip will add a margin to the opposite end, balancing the margin you put the first strip against. When completed, only the ends of each strip need to be glued down. Do the front, then flip over and glue down the alternate loose ends at the back.
Why did I choose the pieces I used? One, the small giraffe sketch,
was probably unfinished, and I didn't feel terribly attached to it - I
barely remembered drawing it! - but tossing it out would still be too
difficult. The other was mounted on artboard for display, but I was
never really happy with it - even though my evening college teacher
thought it was 'wonderful'. The decades had discoloured the art gum
affixing the edges of the artwork to the mounting board. I even hated
the clumsy signature on it.
 |
| Above left: Old unfinished giraffe, oil pastel on Ingres paper, 1981.
Above right: Damaged bottlebrush artwork, oil pastels and blue acrylic
wash on white art paper, 1981 |
I realised that a cut-down section of bottlebrush would complement the giraffe quite well. The seed pod could fill a space below the giraffe's head. I added a little greenery to the top left corner of the giraffe, to serve as a counterbalance to the now-lower right foliage of the section of bottlebrush branch.
I'm rather happy with the result. I now have a great entry for PATTERN week, and I found a new home for two tatty old pieces of artwork I was never excited about displaying. 'Cos artwork should never be left languishing under dust in the garage!
Learn more about Ian at therinofandor.blogspot.com or follow him on Facebook www.facebook.com/imclean.